User guide
Finding your way around the guide
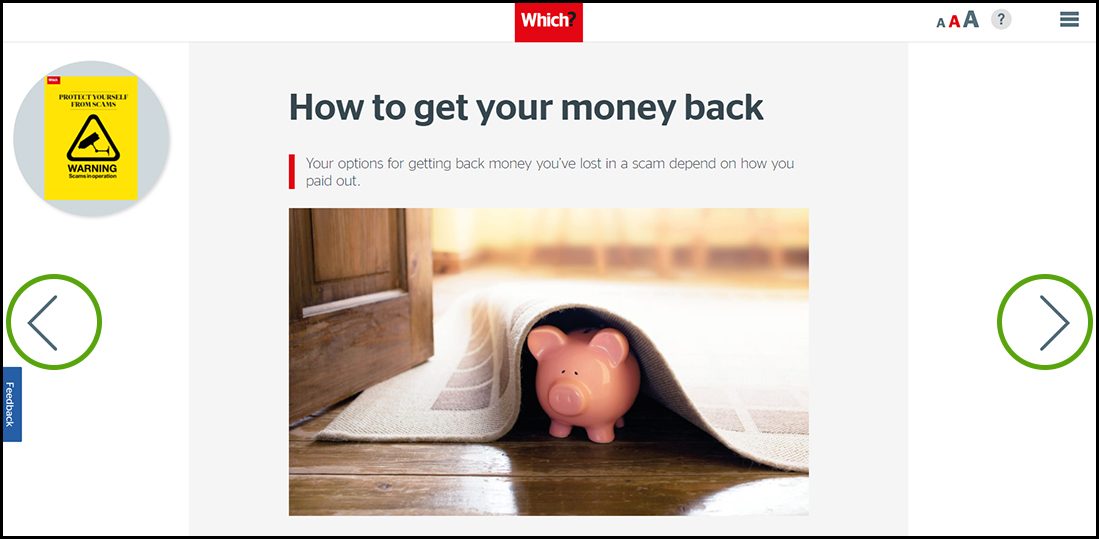
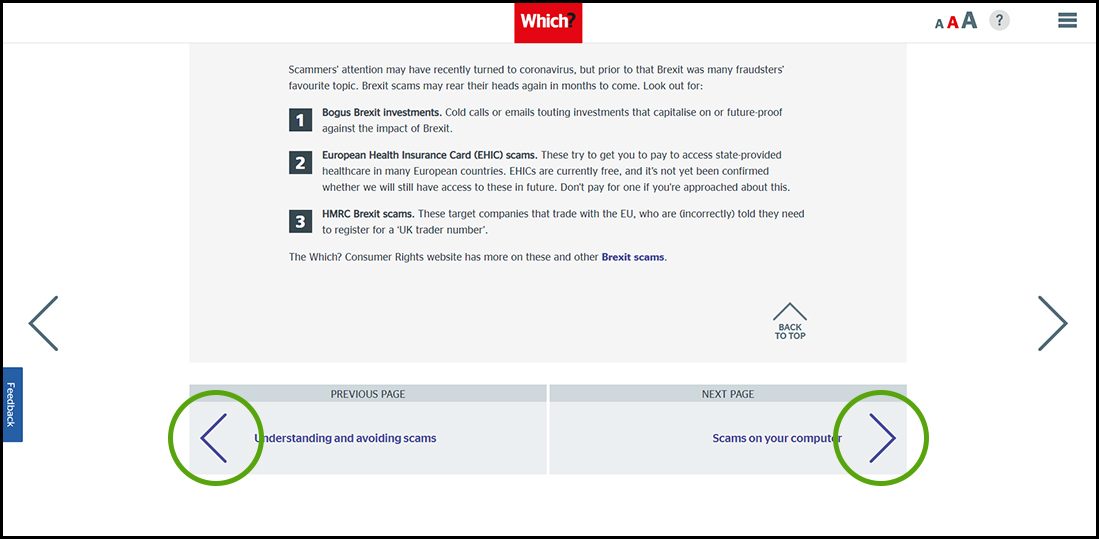
To navigate between pages, click or tap the arrows to go forwards to the next page or backwards to the previous one. The arrows can be found either side of the page and at the bottom, too (circled in green, below).
Menu/table of contents
Click or tap on the three horizontal lines in the top-right of your screen to open the main menu/table of contents. This icon is always visible whether you're using a computer, tablet or smartphone. The menu will open on top of the page you’re on. Click on any section title to visit that section. Click the cross at any time to close the table of contents.
Text size
On a computer, you'll see three different sized letter 'A's in the top-right of your screen. On a smartphone or tablet these are visible when you open the menu (see above). If you’re having trouble reading the guide, click or tap on each of the different 'A's to change the size of the text to suit you.
Pictures
On some images you'll see a blue double-ended arrow icon. Clicking or tapping on this will expand the picture so you can see more detail. Click or tap on the blue cross to close the expanded image.
Where we think a group of images will be most useful to you, we've grouped them together in an image gallery. Simply use the blue left and right arrows to scroll through the carousel of pictures.
Links
If you see a word or phrase that's bold and dark blue, you can click or tap on it to find out more. The relevant website will open in a new tab.
Jargon
If you see a word or phrase underlined, click or tap on the word and small window will pop up with a short explanation. Close this pop-up by clicking or tapping the cross in the corner.
Help
On a computer, you'll see a question mark icon in the top-right of your screen. On a smartphone or tablet this is visible when you open the menu (see above).
Clicking or tapping on the question mark will open this user guide. It opens on top of the page you're on and you can close it any time by clicking or tapping the cross in the top-right corner.
Essential ingredients: onions and garlic
Aromatic alliums like onions, shallots and garlic are essential ingredients in simple weeknight suppers and festive holiday feasts.
Onions and shallots
You can grow onions from seed in February, but the simplest way is to grow them from ‘sets’ (partially grown onions).
If you’re growing onions, ‘Red Baron’ is a good red variety. ‘Autumn Gold’, ‘Centurion’ and ‘Turbo’ produce solid brown onions that store well. Which? Gardening trialled 12 different kinds and, as a Which? member, you can log in to find out which varieties were named Best Buys.
Unlike onions, every shallot set you plant divides into a clump of up to 12 similar-sized shallots. Magic! They’re more expensive to buy but have a sweeter taste. We like ‘Topper’.
How to grow onions and shallots
- Plant sets straight into the soil in March or April.
- Push the sets in gently so the tips are just covered. Protect with fleece if birds start to pull them out. Space rows 15–30cm apart and plants 5cm apart.
- Only water onions if the weather is exceptionally dry.
- Let the tops dry and fall over naturally. In August, when skins are firm and papery, lift the bulbs gently with a fork and lay them on the soil to bake in the sun. In wet weather, ripen them in a sunny spot under cover.
- Store in a cool, dry place; plait into strings and hang, or place single layers in wooden trays.
Find more tips on how to grow onions.
Garlic
This is remarkably easy to grow from individual cloves. Don’t use supermarket garlic – buy it from a garden centre. We recommend ‘Solent Wight’.
How to grow garlic
The flower shoots or ‘scapes’ of some garlic varieties are regarded as a gourmet treat in some cuisines. Cut them when young and tender, and use them in any recipe that requires garlic.
- Plant in the soil in November if you live in the south and have free-draining soil; otherwise, wait until January or February.
- Split the bulbs into individual cloves just before planting. Space them about 15cm apart.
- Use a trowel to ease them into the soil (don’t push them) and make sure the tops are buried so birds don’t pull them out.
- Harvest and store in July.