
User guide
Finding your way around the guide
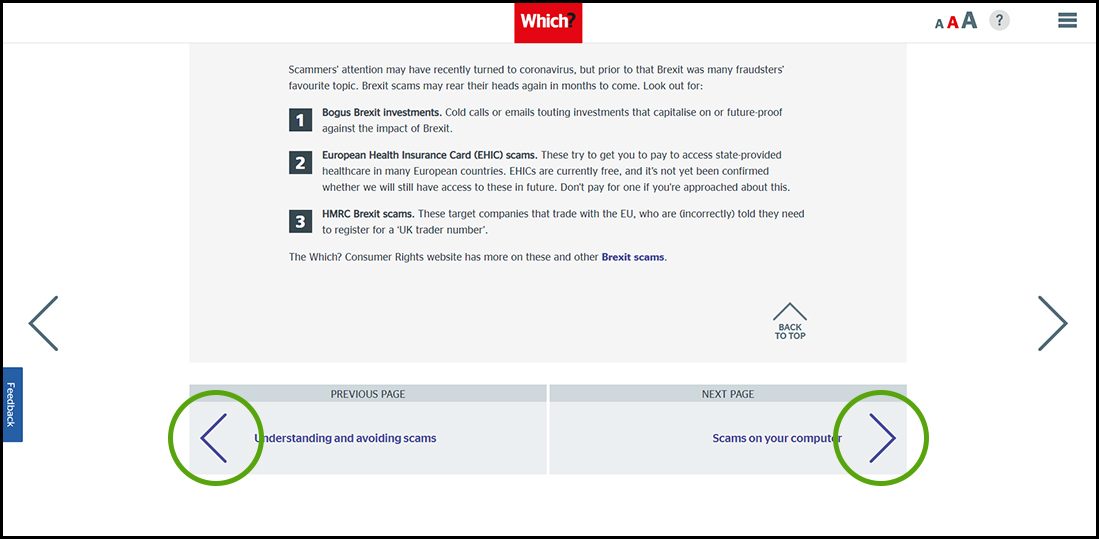
To navigate between pages, click or tap the arrows to go forwards to the next page or backwards to the previous one. The arrows can be found either side of the page and at the bottom, too (circled in green, below).
Menu/table of contents
Click or tap on the three horizontal lines in the top-right of your screen to open the main menu/table of contents. This icon is always visible whether you're using a computer, tablet or smartphone. The menu will open on top of the page you’re on. Click on any section title to visit that section. Click the cross at any time to close the table of contents.
Text size
On a computer, you'll see three different sized letter 'A's in the top-right of your screen. On a smartphone or tablet these are visible when you open the menu (see above). If you’re having trouble reading the guide, click or tap on each of the different 'A's to change the size of the text to suit you.
Pictures
On some images you'll see a blue double-ended arrow icon. Clicking or tapping on this will expand the picture so you can see more detail. Click or tap on the blue cross to close the expanded image.
Where we think a group of images will be most useful to you, we've grouped them together in an image gallery. Simply use the blue left and right arrows to scroll through the carousel of pictures.
Links
If you see a word or phrase that's bold and dark blue, you can click or tap on it to find out more. The relevant website will open in a new tab.
Jargon
If you see a word or phrase underlined, click or tap on the word and small window will pop up with a short explanation. Close this pop-up by clicking or tapping the cross in the corner.
Help
On a computer, you'll see a question mark icon in the top-right of your screen. On a smartphone or tablet this is visible when you open the menu (see above).
Clicking or tapping on the question mark will open this user guide. It opens on top of the page you're on and you can close it any time by clicking or tapping the cross in the top-right corner.
New starter checklist
When you join a new company, day one is exciting but can also be quite daunting.
We have your first day fully planned out to make it as enjoyable as possible. You’ll be connected to your manager, your team buddy and the rest of your team.
Once all day-one activities have been completed you will have a review with your line manager. These reviews will happen on a regular basis, so if you do have any feedback or suggestions on how we improve our onboarding please let us know.
After you have met you line manager the following activities will happen:

1. We’ll take a copy of your passport and any outstanding documents, and these will be passed to a member of our People Team.
2. Meet your new team colleagues.
3. Meet your new team buddy who will be there to guide and support you during onboarding.
4. You’ll be taken on a tour of the building and introduced to key teams.
5. We’ll take you to security or Workplace Experience to have your photo taken for your pass – Big smile please!
6. You’ll receive the equipment you need – PC/laptop and mobile phone if applicable. We’ll show you how to log in to your PC and laptop and how to access Which? network.
8. Ensure you can log in to systems and access email and self-service and add your bank details, address, nationality, ethnicity, next of kin, emergency contact details, any pre-booked holiday and full contact details (including your personal email).
10. Have a team lunch or coffee and cake break and get to know each other.
11. Collect your security pass.
12. End of day check in – how have you found your first day?