
User guide
Finding your way around the guide
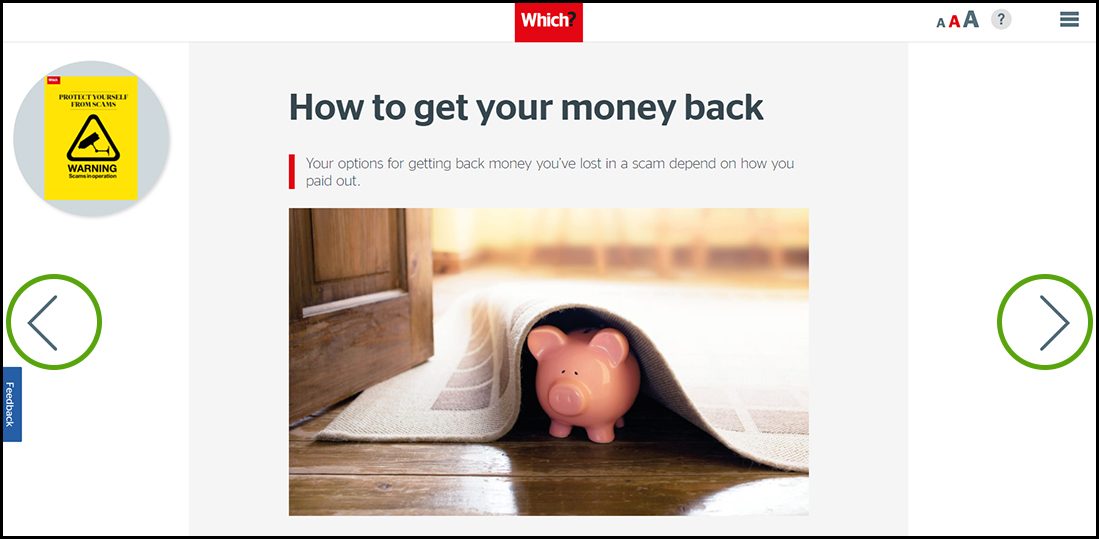
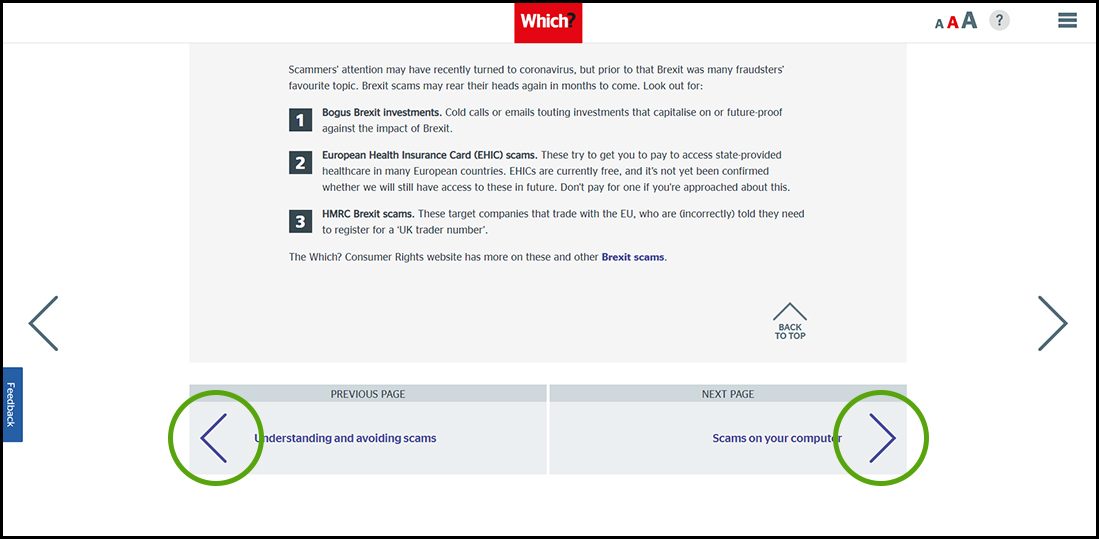
To navigate between pages, click or tap the arrows to go forwards to the next page or backwards to the previous one. The arrows can be found either side of the page and at the bottom, too (circled in green, below).
Menu/table of contents
Click or tap on the three horizontal lines in the top-right of your screen to open the main menu/table of contents. This icon is always visible whether you're using a computer, tablet or smartphone. The menu will open on top of the page you’re on. Click on any section title to visit that section. Click the cross at any time to close the table of contents.
Text size
On a computer, you'll see three different sized letter 'A's in the top-right of your screen. On a smartphone or tablet these are visible when you open the menu (see above). If you’re having trouble reading the guide, click or tap on each of the different 'A's to change the size of the text to suit you.
Pictures
On some images you'll see a blue double-ended arrow icon. Clicking or tapping on this will expand the picture so you can see more detail. Click or tap on the blue cross to close the expanded image.
Where we think a group of images will be most useful to you, we've grouped them together in an image gallery. Simply use the blue left and right arrows to scroll through the carousel of pictures.
Links
If you see a word or phrase that's bold and dark blue, you can click or tap on it to find out more. The relevant website will open in a new tab.
Jargon
If you see a word or phrase underlined, click or tap on the word and small window will pop up with a short explanation. Close this pop-up by clicking or tapping the cross in the corner.
Help
On a computer, you'll see a question mark icon in the top-right of your screen. On a smartphone or tablet this is visible when you open the menu (see above).
Clicking or tapping on the question mark will open this user guide. It opens on top of the page you're on and you can close it any time by clicking or tapping the cross in the top-right corner.
Open, close and save a file
Understanding how to find and open programs and files on your computer.
Your new computer may come with a free trial of Microsoft Word, used for typing letters and other text documents. Here, we use Word to illustrate how to open, close and save files, but you’ll find that many other programs work in a similar way.
Open a new blank Word document
- Click the Start button (the Windows icon in the bottom left) and then the Word icon to open the program. If you can’t see the icon, click Start, scroll to Office then click the Word icon.
- On the Word screen that opens, click the first option for Blank document. A new blank document will appear. Alternatively, click File at the top-left of the page, then click New > Blank document to open an empty page. There are templates available, too. These are pre-designed documents, such as letters, invoices or newsletters.

Close a document
Closing a Word document is simple. Click File and then Close (or press the Ctrl and W keys on the keyboard). If you haven’t saved recently (see Save a File below), you’ll see a message prompting you to save before you close the file, otherwise your changes will be lost. Once the file is saved and closed, it will disappear from view.
Where files are stored
Many programs save files in a default location. By default, Word uses the Documents folder on your computer, while a photo-editing program typically saves a photo in the Pictures folder.
Open an existing file
If you’ve previously created and saved a Word document, or if you’ve been sent one via email and want to open it, open Word and click File on the top menu, then click Open.
- If you’ve opened the file recently, click Recent Documents and select it from the list of documents shown.
- To see the files you’ve saved locally on your computer, click Computer then Browse. Select the Word document you want to open and click Open.

Save a file
- With the Word document open, click File at the top, then click Save. If this is the first time you’ve saved your document, the Save As panel will open.
- The Documents folder is usually the best place to save Word files, but you can browse through your computer folders and set a different save location if you prefer.
- Word will give your document a file name based on the first words in your document. You can keep this or type a new name for the file.
- Click Save.
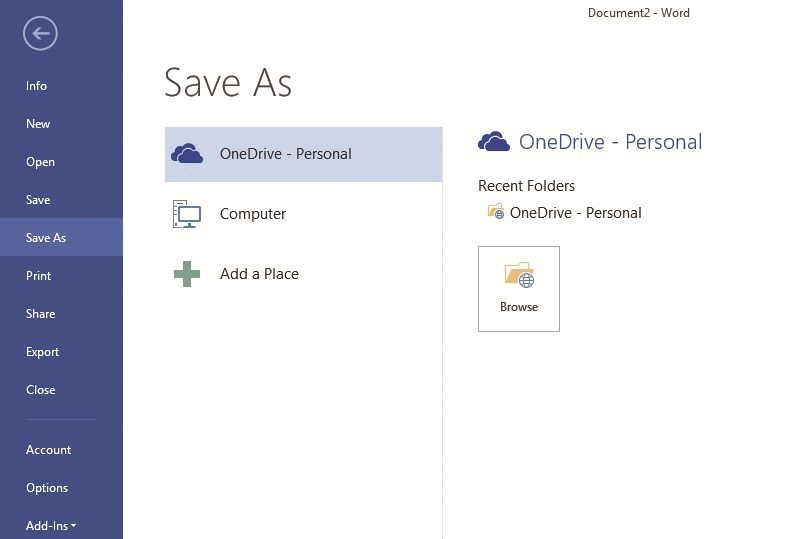
When saving a file for the first time, you’ll see the Save As option. This lets you name your file and choose where you want to save it. Once you’ve saved a file for the first time, clicking File and then Save overwrites the existing file with any changes you’ve made.
If you’re working on a file that you have already saved, but want to save the changes you’ve made under a different file name, use the Save As option. Click File and select Save As to view the save options again. Choose a new name for your file.